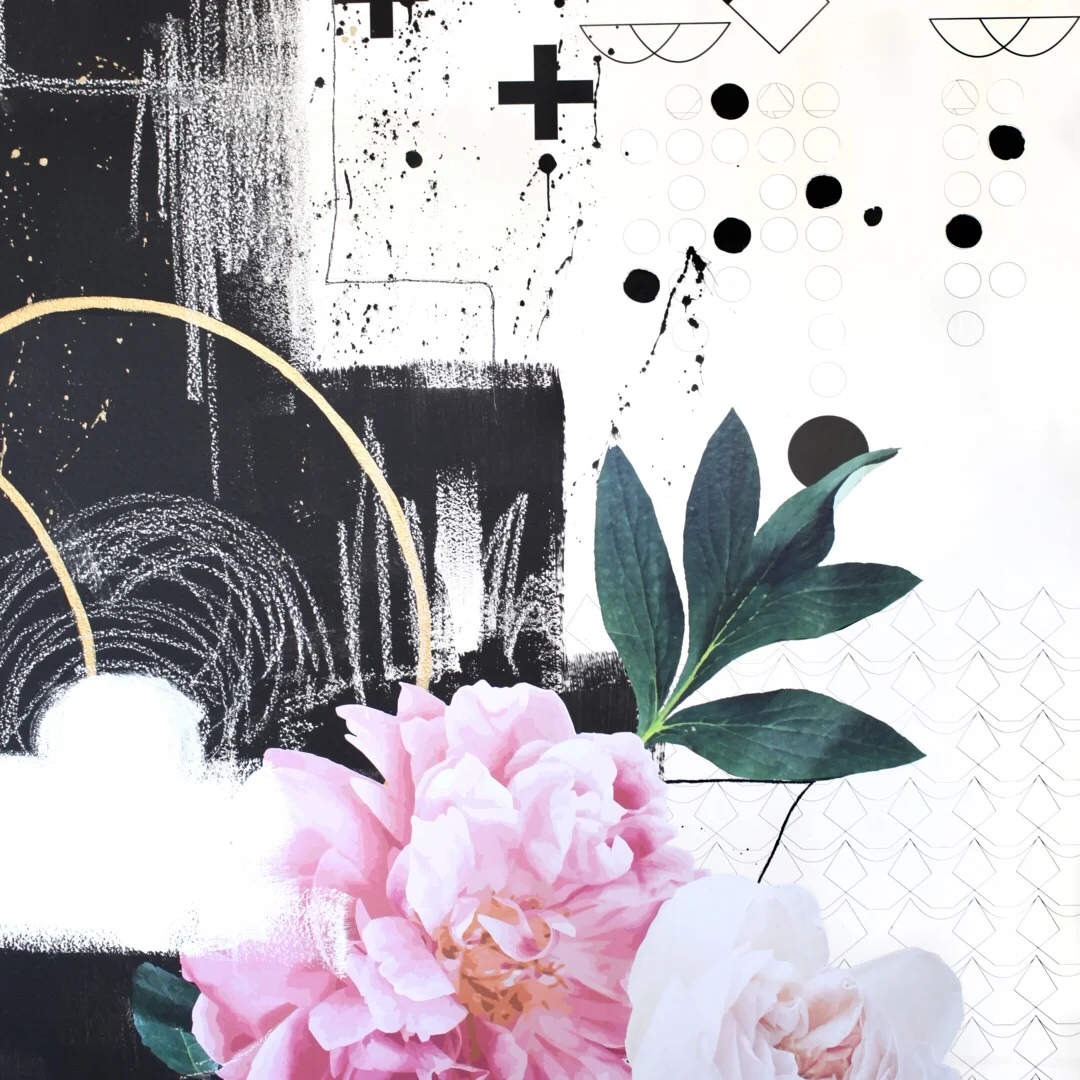
How To Create A Fun Mixed Media Mural
Over the last few years, my team and I had been working remotely from our homes all across the country. It was fun to create our own schedules, but this summer I started dreaming of a time where we could be together working side-by-side in the same office. So, when the plans finally came together, I was excited to design an office space that was bright, modern, and fun to step into every day!
To start off, I went for a clean white look with sit/standing desks from Ikea and sleek white office chairs from Amazon. I got some killer Sonos Speakers installed in the corners of the office to help keep us vibe-ing throughout the workday. I already had a dark cowhide rug, so I wanted a black geometric chandelier to compliment it and found the perfect one at West Elm.
The room needed some bold unique personality and I thought one of the main walls in the office would be PERFECT for a college-like mural concept. As a fine art major, I love collage and mixed media pieces, so I knew I wanted a mixture of paint, decals, splatters, dips, wall panels, etc.
Here is how to create a fun mixed media mural:
1 - Measure Your Wall & Order Your Decals
Measure your wall using a tape measure to get the exact dimensions of the surface you’ll be working with. Then order your decals. There are a lot of fun places to get all kinds of graphics and decals for your walls. After perusing a lot of sites, I fell in love with the fun and quirkiness of these floral & flamingo decals from Urban Walls and geometric wall panels from Kirath Ghundoo. TIP: I took my wall measurements into consideration before purchasing.
2 - Install Wall Panels
Before anything else, I put up the wall panels, which are essentially like big sheets of wallpaper minus all the paste. The nice thing about these ones are that they won't ruin your walls if you decide to take them off! I knew I wanted mine on the edges to frame out the wall.
3 - Paint A Messy Foundation
I thought an artful mess as an under painting would bring a strong dynamic to the mural. So, I used gray paint and mixed it with water to get it a watery consistency. Then I painted a swipe across the wall and let it drip down. I also hand-painted black and gold as an accent on the wall, and then mixed water with black paint and went to town splattering on the wall. It was a ton of fun!
4 - Place The Decals
Tape the Urban Walls decals in place on your wall so you can get an idea of where you’d like to put everything before making that semi-permanent install. You may want to rearrange and try a few different variations before committing and installing the decals. Their tutorial video was really helpful.
5 - Install The Decals
After I had figured out the placement of the final decals, I was ready to commit and ready peel and stick!
That's it! I am super excited with how the wall came out. It adds that fun and funky vibe to each day we spend in the office. What do you think of this? Will you try it? Let me know in the comments!


